
Quick User Guide
Welcome to a new way of experiencing organizational logistics.


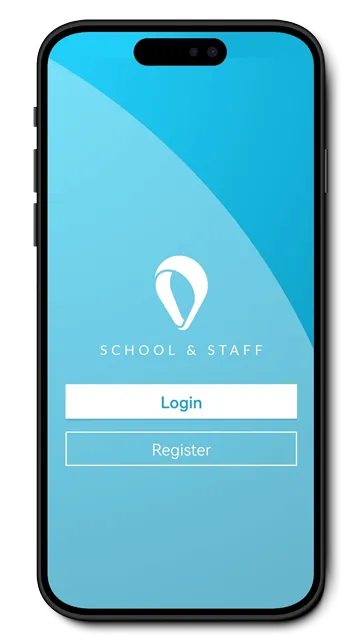
Open the app and select the ‘Log in’ button.
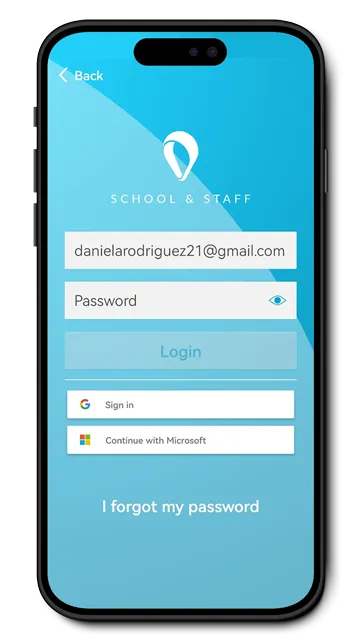
Enter your username and the password you set up.
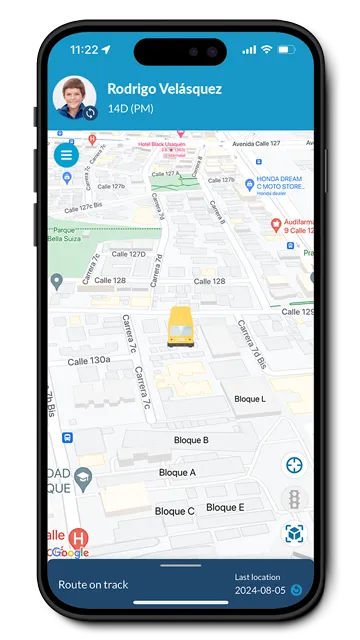
On the main screen, you can see the location and status of your assigned routes.
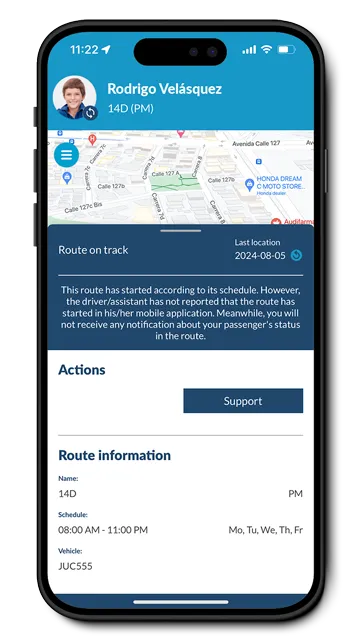
Swipe up on the bottom menu to view your notifications, route information, and access support.
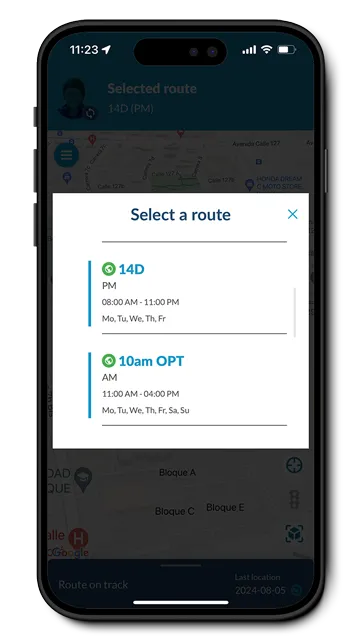
Select the route you wish to track.
Set up customized geographic areas for your passengers and receive notifications when their routes enter these zones, so you know when the route is near the stop.
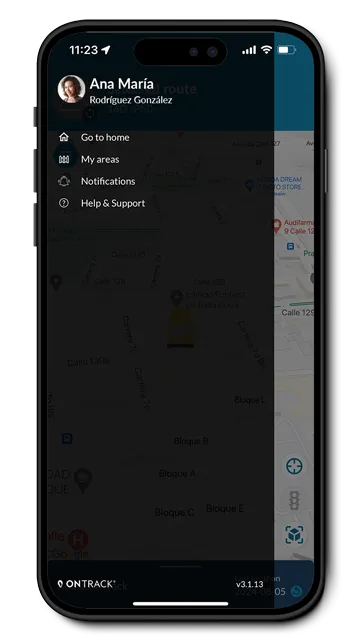
Go to the menu in the top left corner of the main map and select “My areas.”
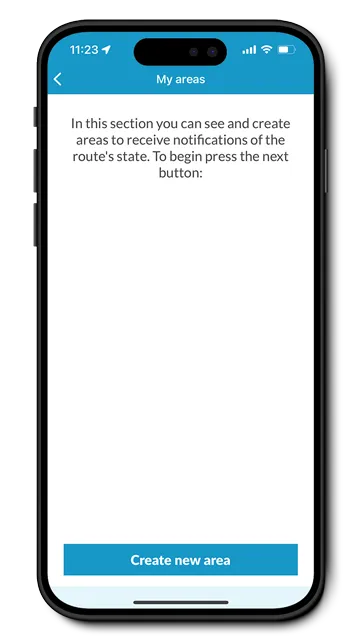
Choose ‘Create new area’.
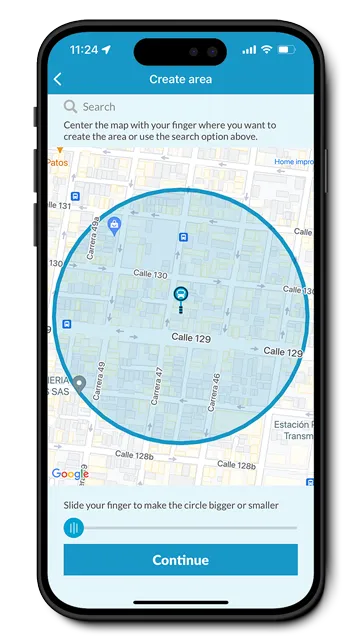
Locate the area of interest on the map. You can zoom in or out to adjust the size.
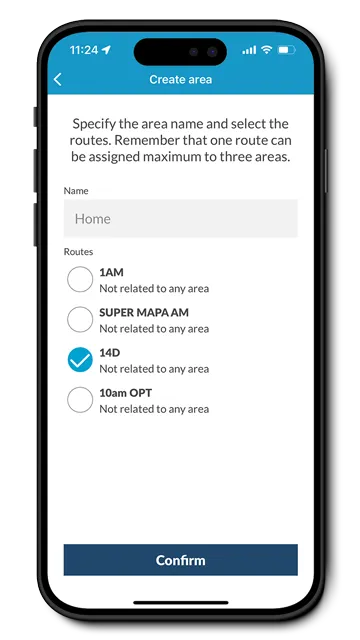
Enter a name for your area, associate it with the corresponding routes, and save it.
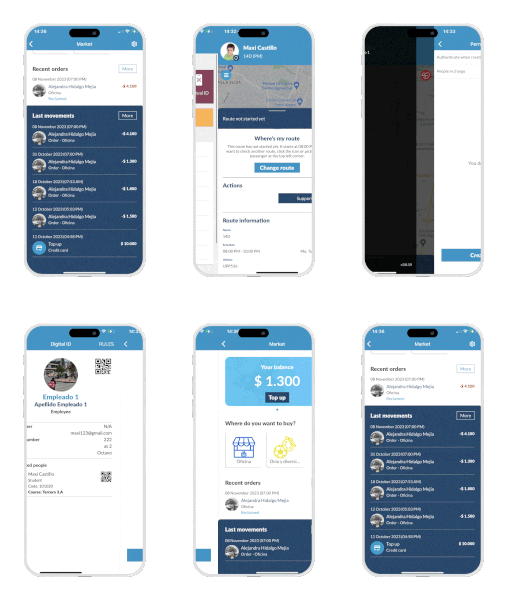
Through the app, you can easily request permissions for route or stop changes, notify about absences, or inform the organization about arrivals or departures outside of regular hours.
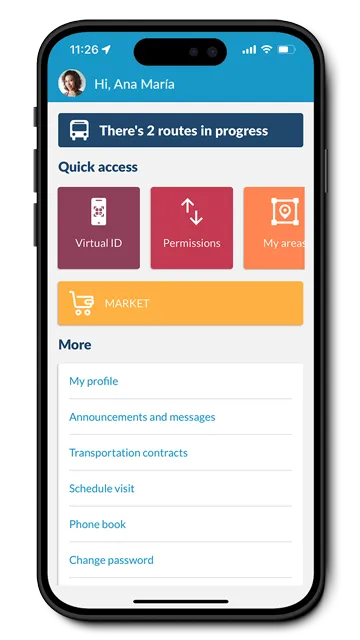
Go to the home screen of the app and select ‘Permissions’.
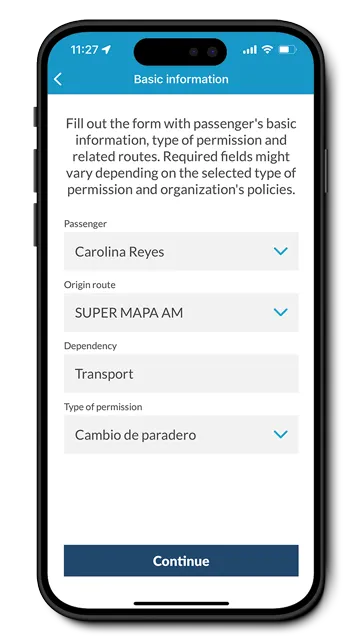
Fill out the form by entering the information for the permission you want to request.
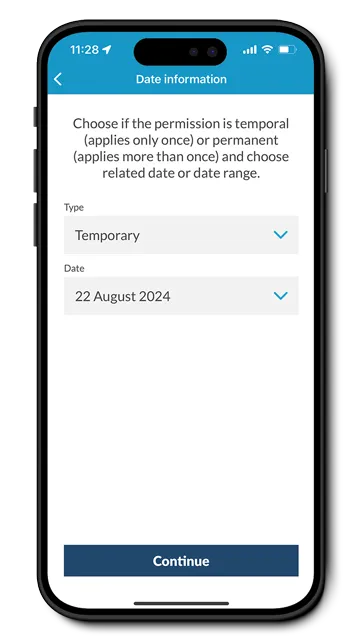
Indicate whether your permission is temporary or permanent and assign a date.
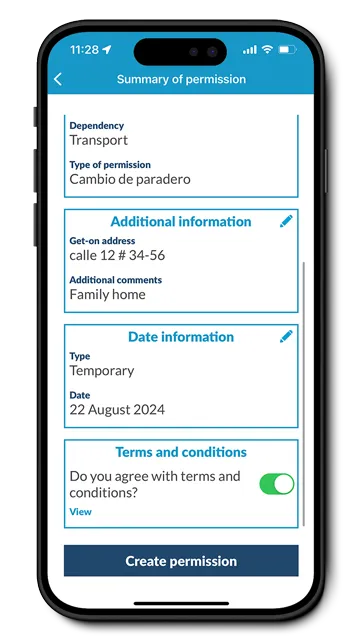
Verify the information and accept the terms and conditions before selecting ‘Create permission’.
Available only for organizations that use OnTrack Access. Your virtual ID is a dynamic QR code that serves as your access key to the organization.
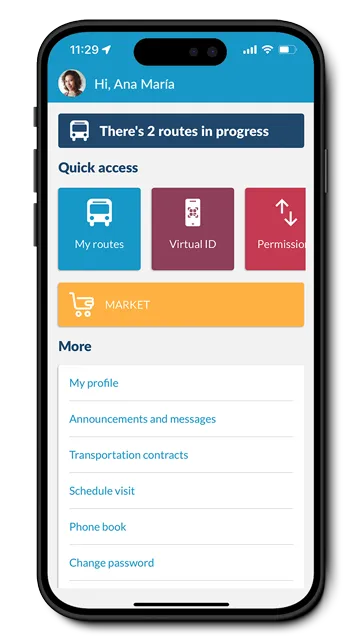
On the main screen, select the ‘Virtual ID’ option.
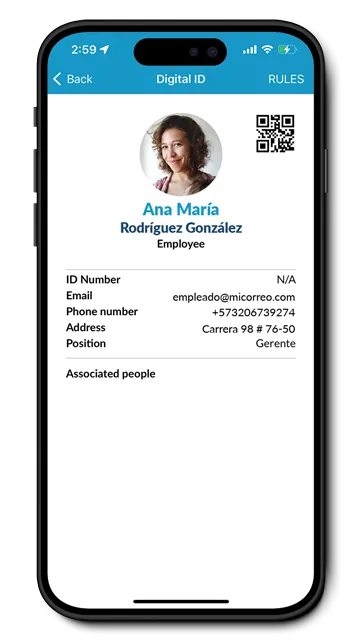
You can view your detailed user information.
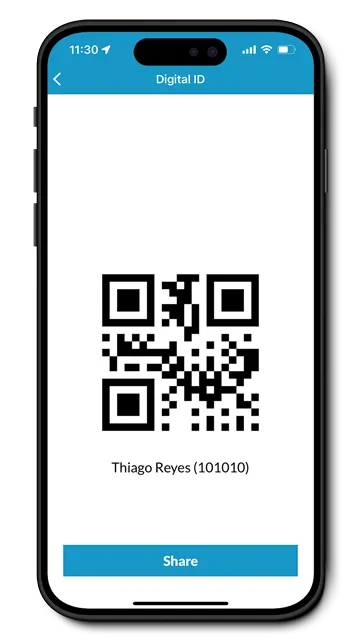
Tap the miniature QR code to enlarge it for scanning on access control devices.
If you have the necessary permissions, you can schedule visitors to enter the organization.

On the main screen, select ‘Schedule visit’.
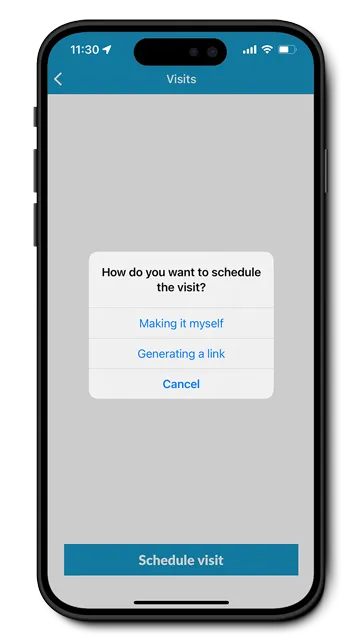
You can enter the visitor’s information or generate a link.
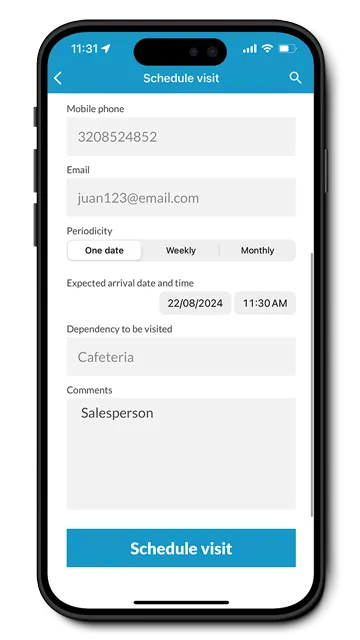
Fill out the form with the person’s information, visit date, and time. Finish by selecting ‘Schedule visit’.
If your organization uses OnTrack Market, you can review your balance and transaction history and top up your account.

Go to the home screen of the app and select the ‘Market’ option.
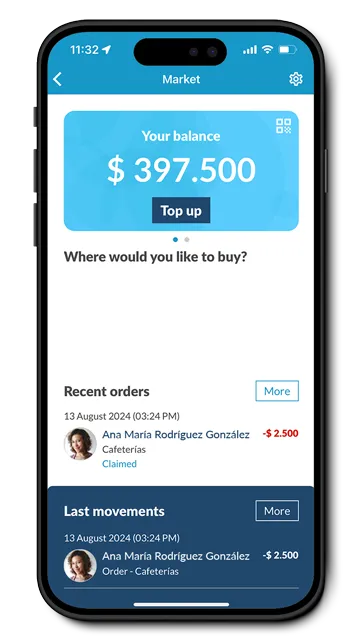
On the Market initial screen, you can see your available balance, as well as navigate through orders and recent transactions.
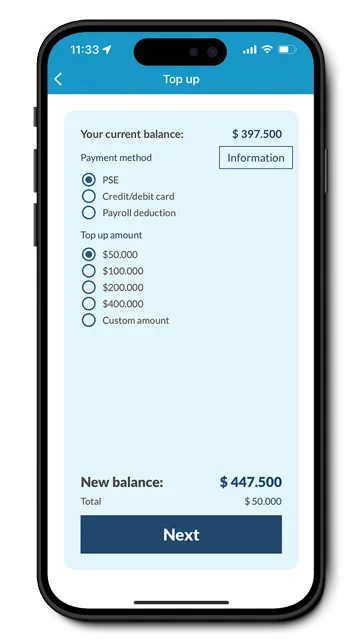
Select the ‘Top Up’ option on your balance card to make top-ups via PSE, credit card, or payroll deductions.
Habla con ventas